Edward Wright Designs

Edit Content

Get In Touch And
Contact Now To Reach !

Location Details

X Y Z Street City

Email Address

example@example.com

Phone Numbers

+123 456 78900

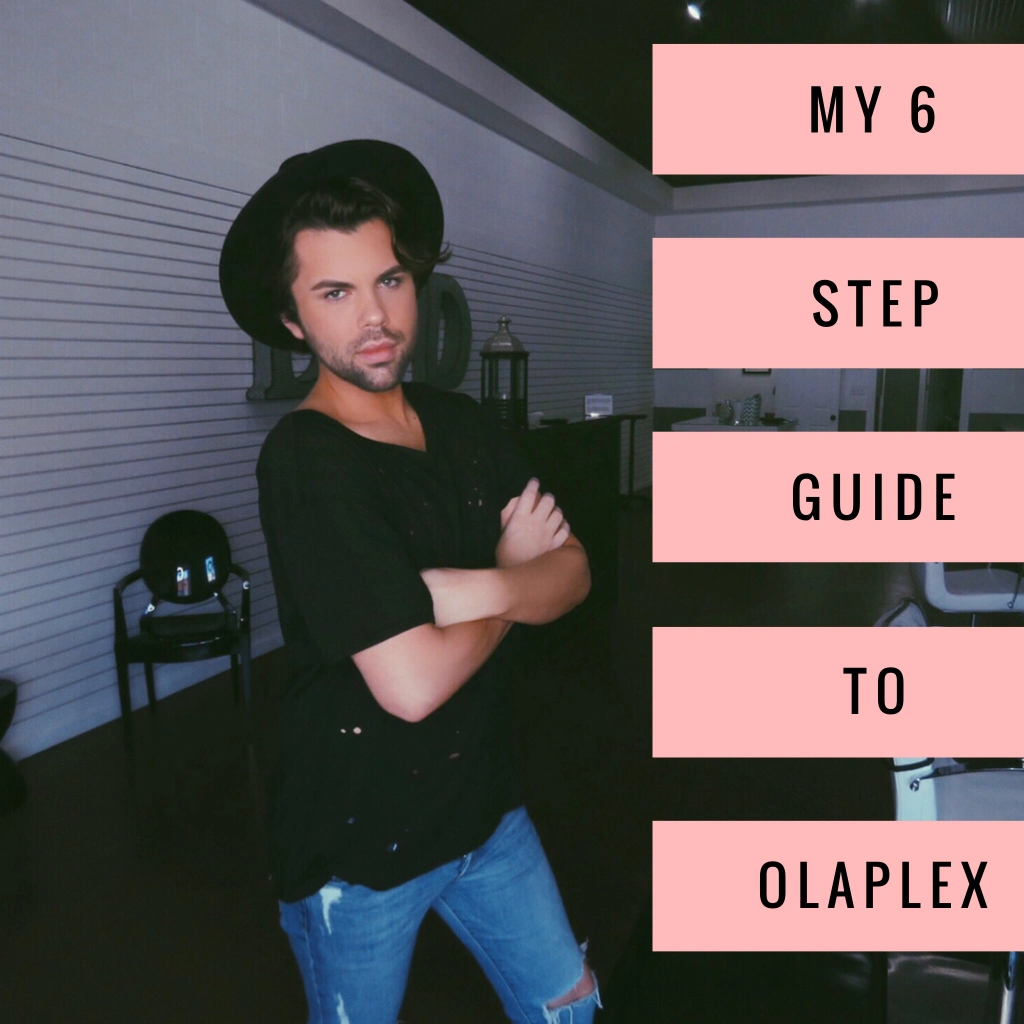
My 6 Step Guide To Olaplex

Hello everyone! Welcome back to the blog! 

please click HERE to follow me on INSTAGRAM 

My 6 Essential Methods To Using Olaplex

I have been using Olaplex in my Studio for about 3 years now. I really enjoy this product. I know many other brands have tried to mimic the formulas.. however, I find Olaplex to be the best one ” strength ” wise. Below you’ll find 6 of my favorites ways to incorporate this product behind the chair & within my clientele at home.

#1.) Use #2 On Dry Hair in Between Foils : 

Okay, so you’ve just added in your foiling or backcombing & now the hair that hasn’t been touched is left to just sit. Before walking away for it to process grab a bottle of #2 & apply it to the dry strands of hair! This product is VERY concentrated.. so remember that a tiny little bit can go a long way on a strands of hair! You do not have to soak the hair in product! Just try to add a little coat over the weak ends / mid lengths if needed. After all, who can say no to stronger hair? $$ CHARGE for the product use!

#2.) Use #1 In Lightener Before Chemical Service :

If you’re already familiar with Olaplex then you should already be doing this step. I am just adding it in to make sure & because it is something I do everyday to help ensure integrity within the hair. Add a little amount of Olaplex #1 to your lightener before you use it on the hair. Why? Olaplex is going to act as a backup sort of insurance policy. When the bleach wants to come in and damage the hair. Olaplex steps up and says

” WHOOAAA.. lets not damage it as much “

 Let’s actually strengthen it. Amazing.

#3.) Use #1 in a Demi Permanent Gloss

Whenever I start to mixing my Demi permanent glazes for the hair strands or shadow roots. I always incorporate a little #1 in.. Why? I feel like any little bit of this magic potion helps. Not only will they feel the effects of the gloss.. but also have a little strengthening acting in there as well from the #1. Two birds. 1 application. In my opinion.. the more you can incorporate olaplaex in 1 setting. The better! I’m hoping this blog post can help open you up to more ways to use it!

#4.) Use #2 or #3 at shampoo bowl for 10 mins : 

This is another one that you’re probably ALREADY doing.. but just reminding.. After I rinse out the lightener for my clients I will diffuse some essential oils & let olaplex sit on the clients wet hair for about 10 mins. Over time, these little ten minute treatments can add up into a lot of strength for the hair. Try not to skip this step too often.

#5.) Use #1 as Stand Alone Treatment :

Sometimes if the hair is in really critical condition I may apply #1 + 2/3 ounces of water and let sit on the hair about 10/15 minutes. If you have longer for it to process, it will not hurt it. Just all depends on how long you have before your next client walks in the door. Time management is always a good goal to keep. This treatment will help sort of shock the hair back into good health & make it a lot stronger before chemically covering it in color.

#6.) Use #2 or #3 at Home :

I have all my clients using olaplex at home. I like to have my clients use it 30/45 mins on DRY hair. Once a week or Once a Month before they come in.. deepening on the severity of damage done to the hair. This at home strengthening method helps ensure the hair to be strong enough whenever the client comes back into the salon with surprising changes. Such as a full foil in one day. If they’ve been using this product as directed at home. It will allow me to lighten all over and the hair be strong enough to withstand the lightener.

Facebook
Twitter
LinkedIn
Pinterest

Leave a Reply

Your email address will not be published. Required fields are marked *

ABOUT AUTHOR
Alison Housten

Lorem ipsum dolor sit amet, consectetur adipiscing elit. Ut elit tellus, luctus nec ullam.

RECENT POSTS
Our gallery