Hi Guys! Welcome back to the blog! Today, I want to take you through the steps of how I transition someone who has been heavy highlighted all over into more a subtle natural ” rooted ” blonde. So, grab some popcorn or a cup of coffee ( my preference ) and follow along with me . . .
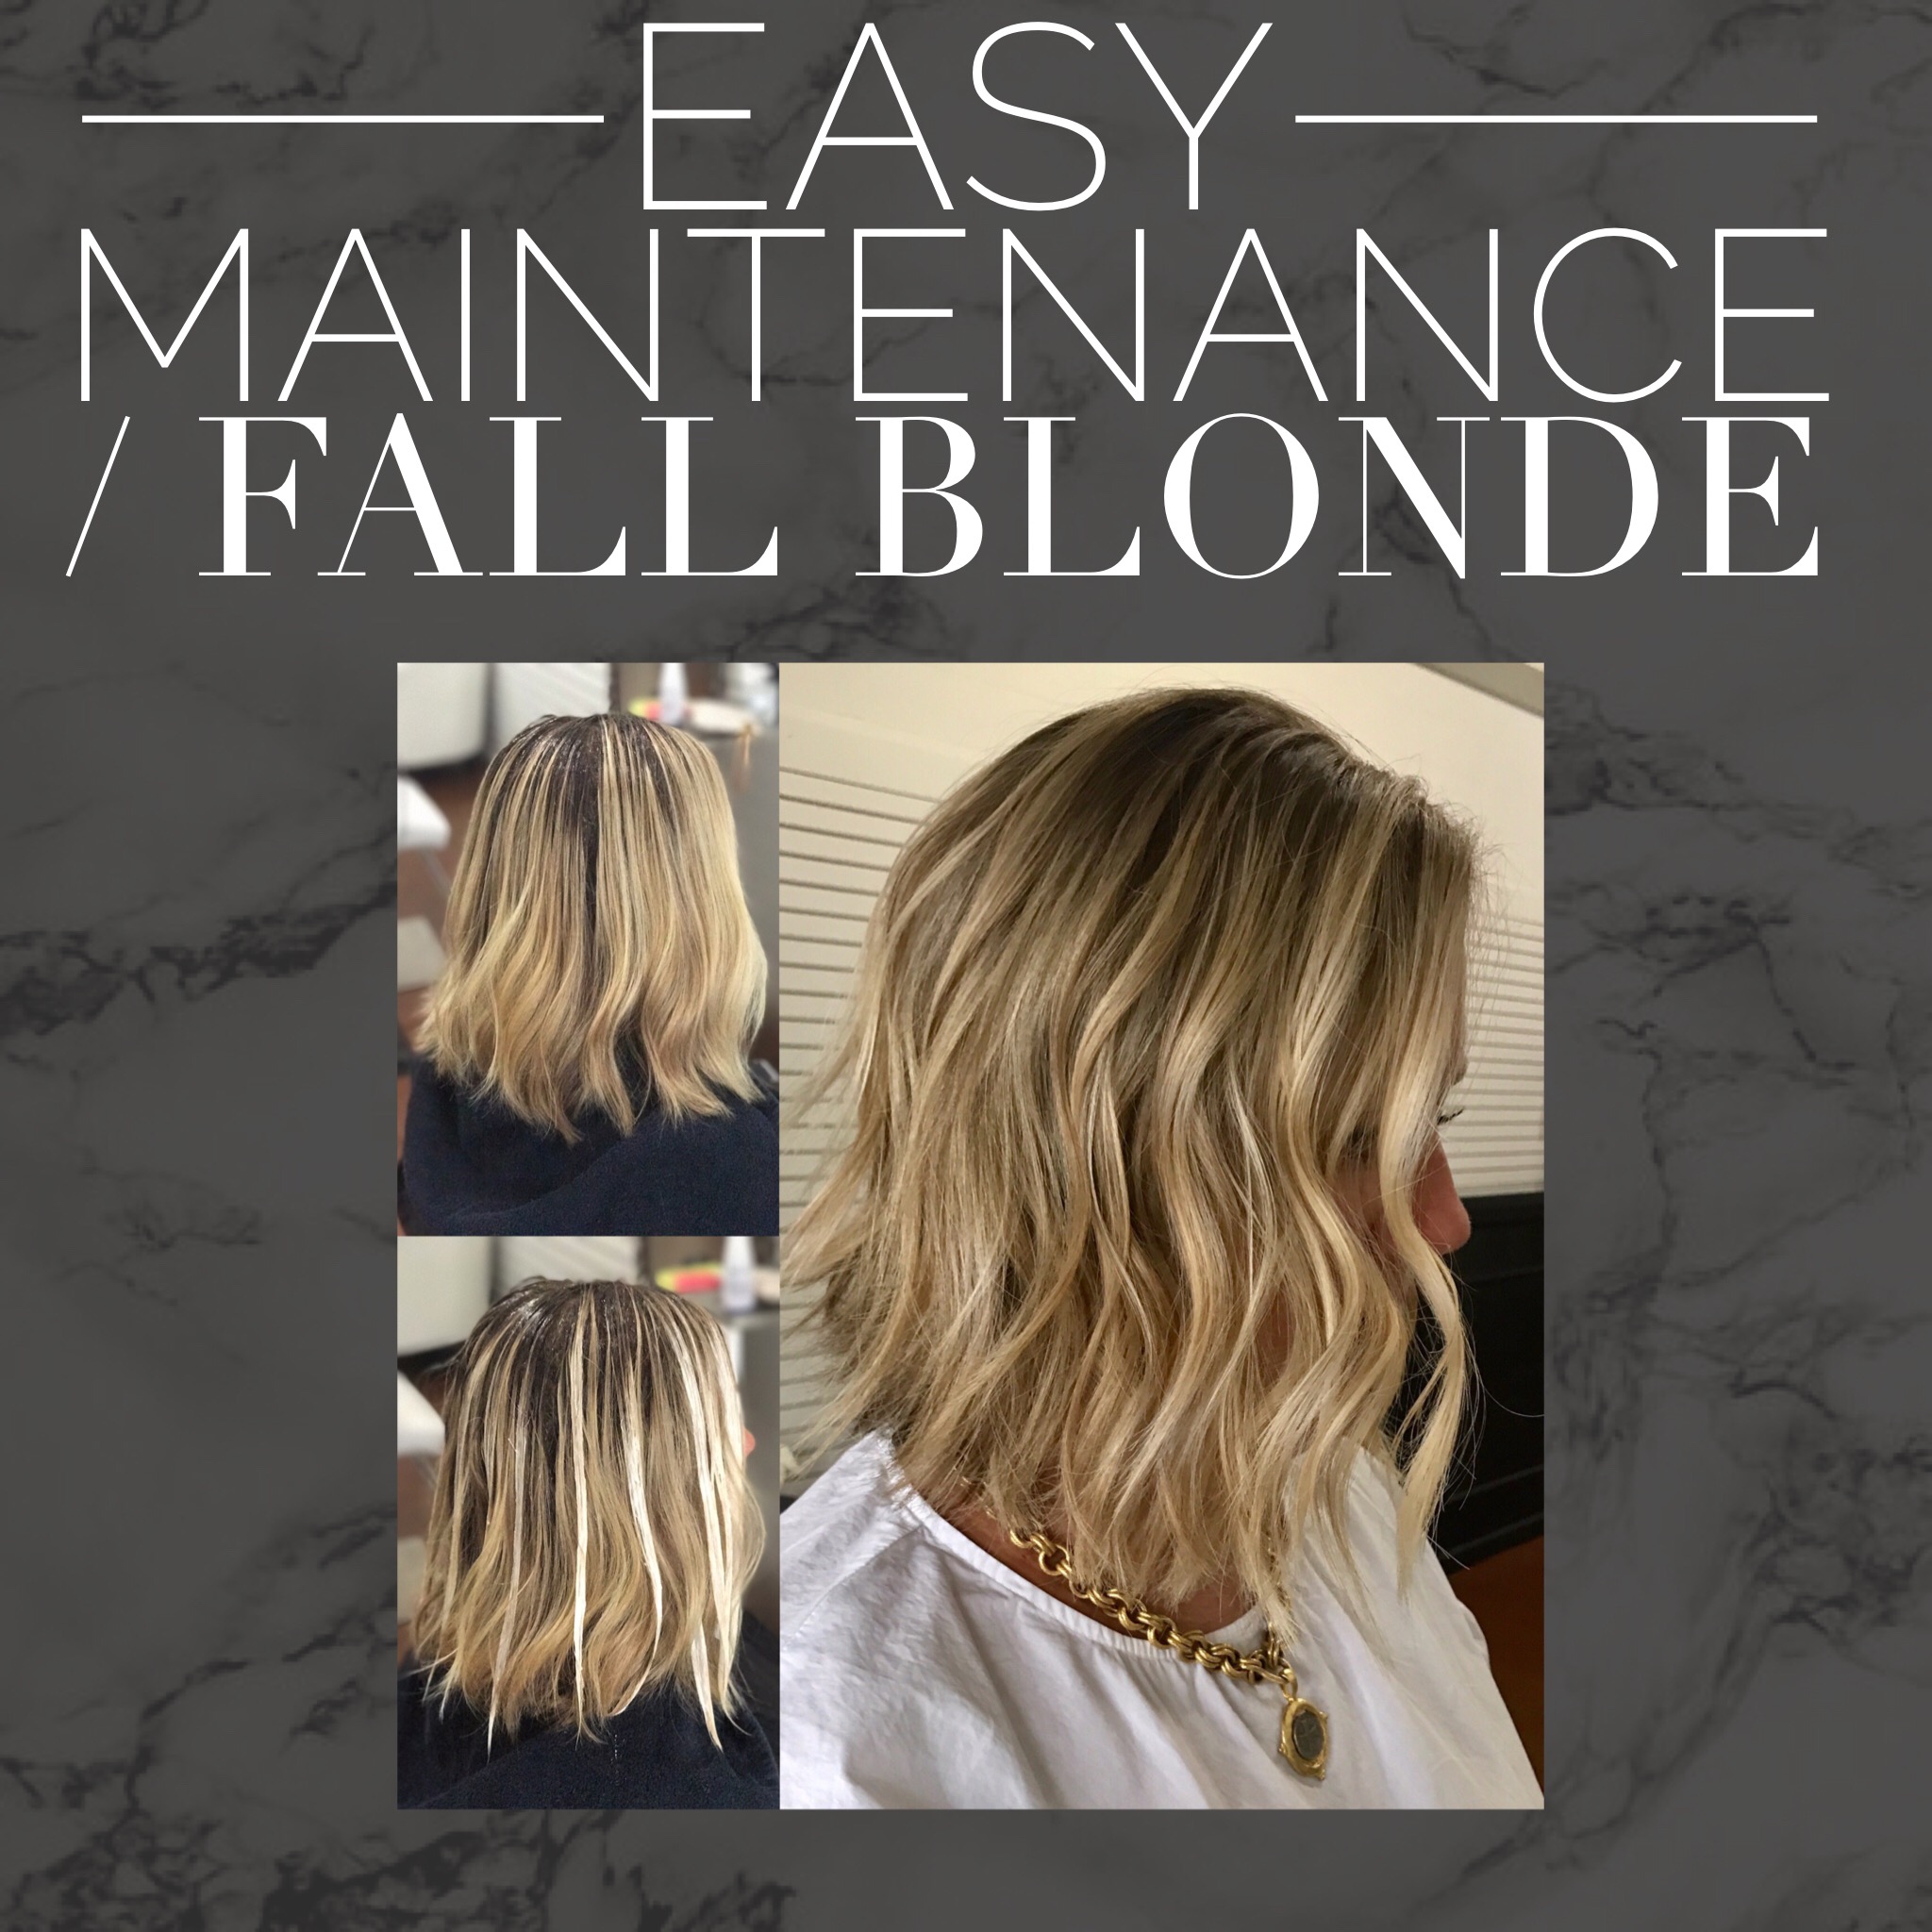
Before Photos:
STEP 1 – Access / Dissect the Hair : I really like to take the time to dissect the hair & really understand what it is the previous colorist tried to accomplish. I always like to add in that these posts and advice are no way geared toward degrading other colorists. We are all in this together. Sometimes, the clients are just needing a different look that maybe the colorist did not fully understand OR take the time to understand. Section the hair off & really try to understand what you have as far as light & dark.. and what techniques you’ll use to achieve the desired result. Click here to see all the workshops avaiable if you’d like to learn hands on! You’ll also want to ask your client if they have a photo of the color they’re wishing to see on themselves.
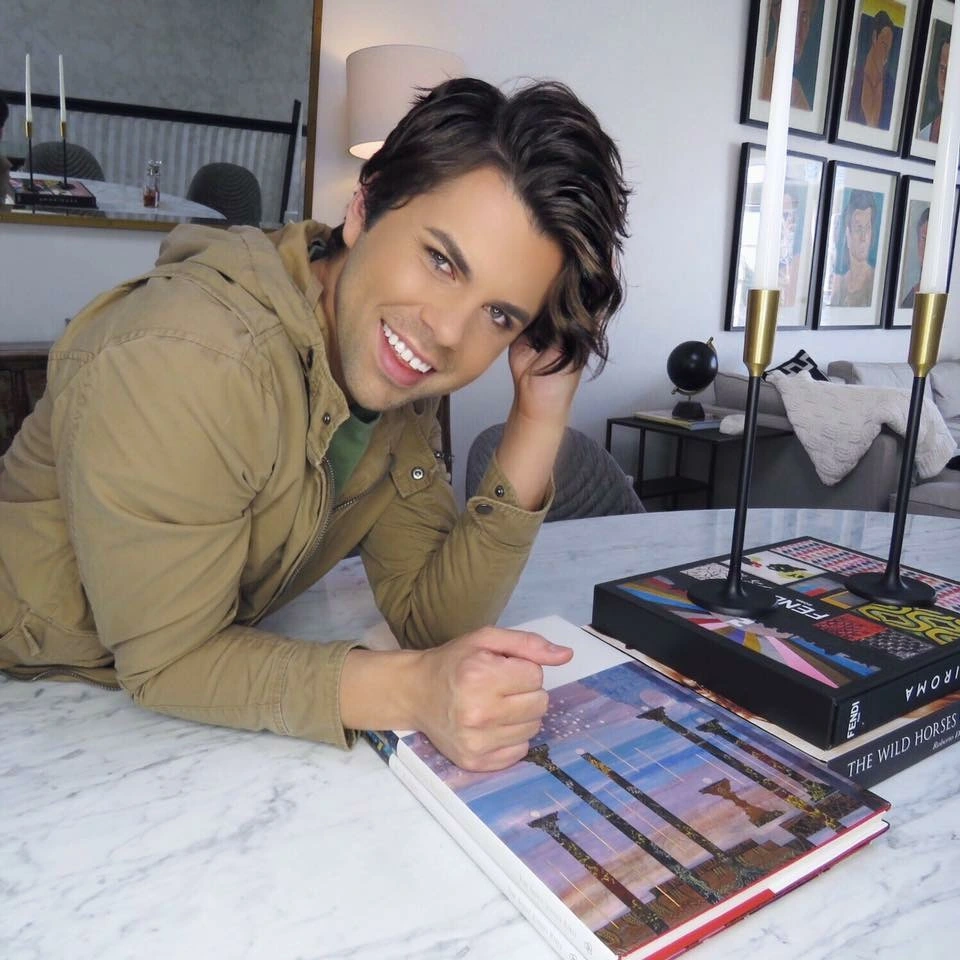
Desired Result: Photo Credit: Johnny Ramierz
Inside my mind: This specific case we are chatting about today is an example of someone wanting to be a ” rooted blonde ” – a more natural subtle look who has previous ALL OVER foils and balayage. First things first. Let’s start dissecting the hair. As you’ll see in the photo, she has WAY to much blonde all over. You can still see a little of her natural regrowth starting to peak through.. Which in my opinion is a great thing. A little root can go along way.. as oppose to them coming in after it being just freshly highlighted / very porous and overdone. Her hair had a little banding from the balayage / foiling mix – because, as we know.. balayage doesn’t ever lift as much as those good ole foils! My client wanted to still see a little pop of blonde around her face. So, babylighting the hairline is a must!
Step 2 – Babylighting: I always foil my babylights on diagonal lines. This ensures that your foils will not grow on in straight lines BECAUSE you’re not foiling them on straight lines. I used Redken Flash Lift w/ 30 Volume + Olaplex! I forgot to snap a photo of my foils in her hair, but if you already follow me online.. you should know what I’m referring to! If not, please visit my facebook page and I’m sure you can find a photo that will help explain. Click here and it will lead you to all my different social media outlets.
Step 3 – Shampoo & Olaplex : Once you’ve finished your foiling & achieved the level of lift that you’re looking for, it’s time to shampoo and make sure you leave olaplex on for at least 10 mins. I usually add olaplex #2 to the ends of the dry hair while the foils are processing! Typically I am either using MONAT REVIVE or ALTER EGO MIRACLE COLOR SHAMPOO
Step 4 – Shadow Rooting: Shadow Rooting has become such a popular technique to help us create such effortless blended rooted blondes! I am always using either JOICO LUMISHINE or REDKEN SHADES EQ when shadow rooting. You’ll always want to use a demi liquid. NEVER use a permanent cream color. Permanent color is just like a permanent marker. It’s so dense and it’s on the hair forever. Demi’s stain the hair and then completely fade off by next appointment. Plus, they’re so transparent that it never creates a harsh line. Today I grabbed Redken 5N + Joico 6NA – to make sure I maintain a nice natural tone with a little hint of ash base from the NA. I always use Joico Lumishine 5 volume developer with my shadow rooting. I enjoy the thicker consistency for rooting purposes. A big question I get a lot is ” How far do I take the shadow root down ” – the answer: as far as you want the desired look to be!
ALLOW TO PROCESS FOR 15 MINS
Step 5 – Final Shampoo + Glaze : Once you’ve rinsed out your shadow root, it’s time for a glaze. today, I felt like the previous tone was a little too pale.. especially since we were adding in a darker root. I used Joico Lumishine Demi Liquid in 10NG – just to add the smallest hint of gold. Almost invisible but makes me feel better to know I added it! Leave on for 5 minutes!
Step 6 – Style + Results : Once you’ve completed your color process, blow dry using a round brush ( I use a square brush to help keep my styles from being too round ) Then I use a 1 inch hot tools iron to create bend waves in the hair!


